10 Things You Didn’t Know The MacBook Pro Touch Bar Could Do

When Apple introduced the Touch Bar on its MacBook Pro keyboards back in 2016, it became a game-changer. While some think the long touchscreen strip that appears above the keyboard is just a gimmick, with rumors even floating around that Apple might get rid of it, the feature actually serves a useful purpose. It’s designed to replace those archaic function keys that are rarely used with something far more high-tech and customizable.
Aside from just looking cool, the touch sensitivity allows for simple and easy one-touch access to favorite programs. And because it can be customized so intricately, one person’s Touch Bar looks could be completely different from another, depending on how they use their computers and what features they find most important.
With that said, beyond the basic customization features, there are plenty of things that can be done with a MacBook Pro’s Touch Bar that so many users might not even realize.
10 Answer A Call
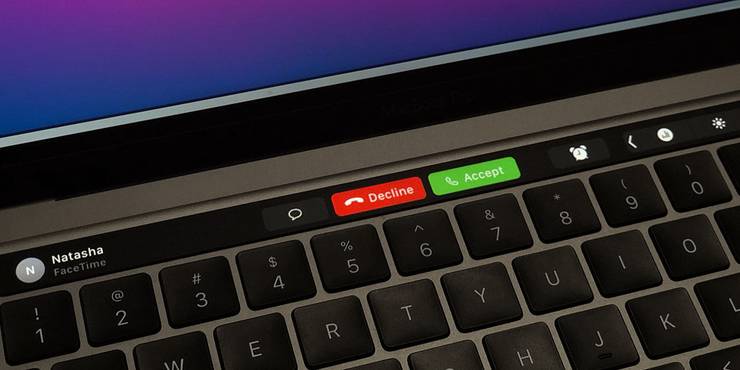
With incoming FaceTime calls, the caller ID actually shows up on the Touch Bar and can also be answered from there. Tap either Decline or Accept and answer from the computer or pop in a pair of wireless headphones.
This is not only handy for keeping on top of important calls, but it’s also an easy way to quickly screen unimportant calls when deep in the throes of an assignment (or the latest binge-worthy show.)
9 Select Emojis
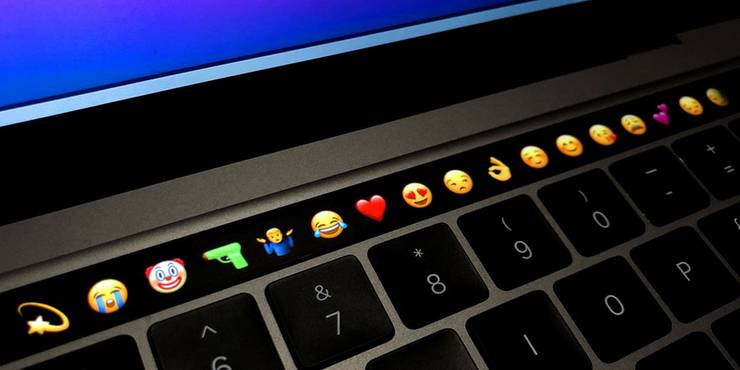
These days, arguably more important than the text in an instant message or social media post is the emojis that accompany it. The Touch Bar can be used to quickly find and select them – especially when chatting via a Mac versus an iPhone or iPad that runs on iOS and has full Emoji keyboards.
Tap the smiling Emoji icon, scroll to the right, and plenty of options will show up. Select from the laughing emoji, thumbs up, heart eyes, clinking champagne glasses – all the popular emojis are there. Just like with iOS, the most frequently used ones will show up first, then scroll through or tap the icon to jump to a specific category.
8 Predictive Text
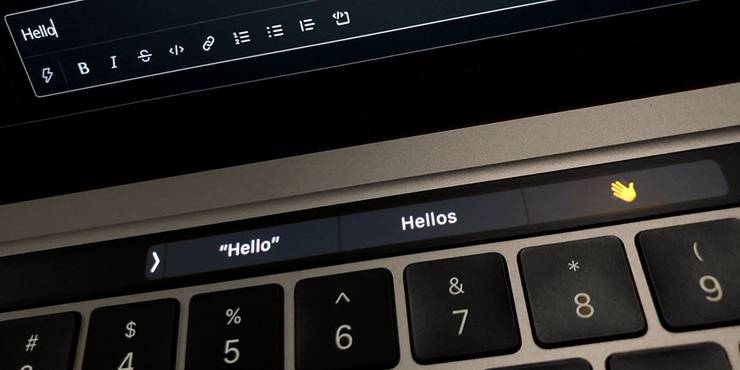
Let’s face it: for the most part, the predictive text gets it wrong and has people sending messages they need to quickly correct with an asterisk followed by the word they really meant to send. But in some instances, predictive text can actually be useful.
When composing text in an app or program, get a little helping hand by adding predictive text options to the Touch Bar. Tap the Keyboard icon, which appears to the left of the Control strip. Start typing, and predictive text will appear in the bar. Tap the right-chevron button once you’re done and the predictive text will be hidden away until the next time you need it.
7 Manipulate Photos
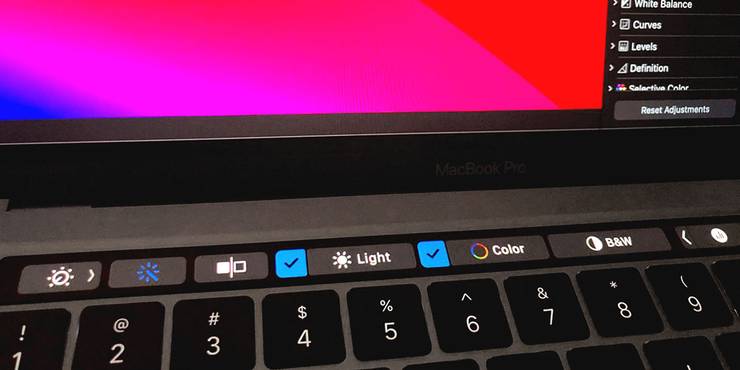
Images from the Photos album can be accessed directly from the Touch Bar. Not only that, but they can also be manipulated, including editing, cropping, rotating, filtering, adjusting lighting, re-touching, and straightening. Individual photos can be favorited using the “Heart” button and entire albums can be scrolled through with tiny previews, quickly and easily.
Videos can also be accessed, allowing owners to scrub through them to reach a specific spot in a video as well as access other playback controls.
6 Get A Pet…Really
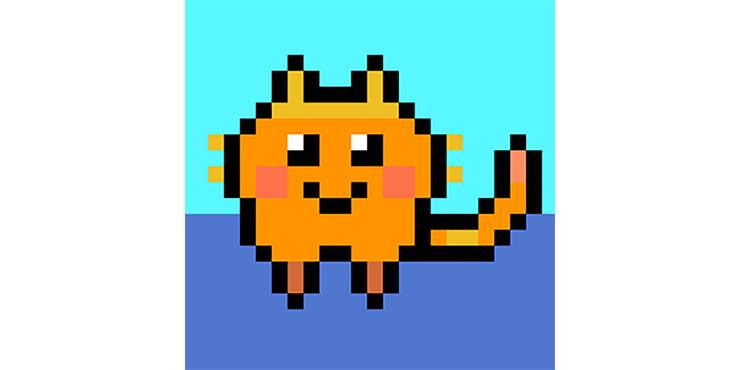
Whether it’s about harkening back to the old days of the Tamagotchi Pet toys or looking for a simple way to add joy to life, there is a way to make an adorable little pet appear on the MacBook Touch Bar.
The virtual pet, created by Grace Avery (@gracecondition) is actually inspired by the Tamagotchi. Just like that staple ’90s toy, it grows over time from a child to an adult but requires the owner’s love and care to do so. This means feeding, cleaning up after it, and petting it every now and then, all achieved by tapping on the Touch Bar. Download the Touchbar Pet in beta format from the website to try it on any Mac with Mac OS 10.14 and higher (and the Touch Bar, of course). Make sure the Touch Bar allows App Controls and keep the app open while it’s running.
5 Make The Function Keys Appear
Some old apps still require use of those archaic function keys. If this is the case, simply hold down the Fn key on the bottom, left of the computer’s physical keyboard, and voila! They will show up.
This way, the Touch Bar is left free and clear for the apps and control features that are accessed all the time. But when a function key is required, it can quickly pop up in pinch.
4 Customize Touch Bar Buttons
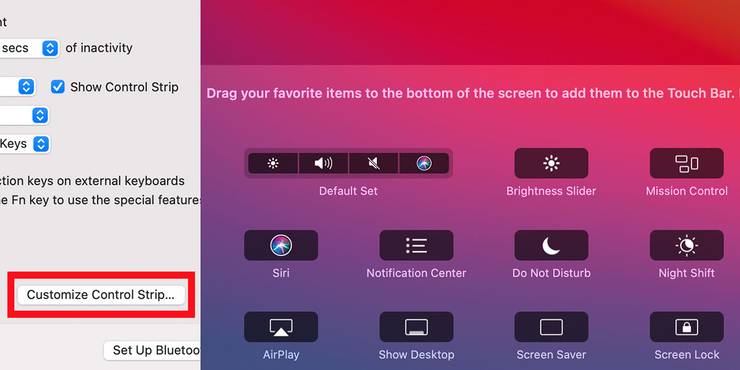
Customize the buttons that appear on the Touch Bar based on the more frequently used functions, as well as change what the function or Globe key do. Go to the Apple menu, System Preferences, and Keyboard, then select options for Touch Bar.
Use the pop-up menu to select the items that should show up on the Touch Bar, including favorite apps or just the expanded Control Strip. Press and hold the Function or Globe key for another pop-up that can be customized to open just about anything.
3 Access Favorite Websites
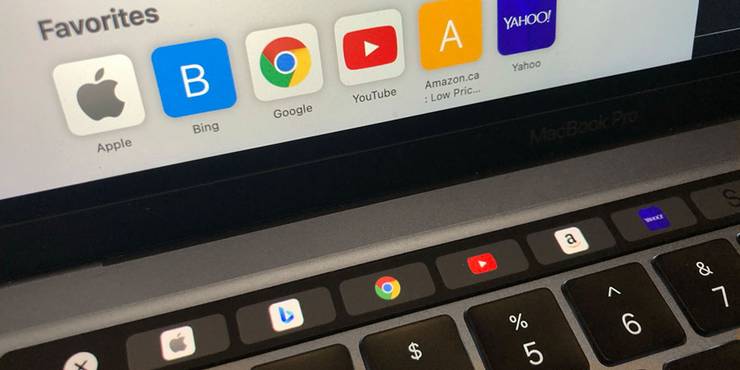
For favorite websites that are accessed often, there is a way to load them into the Touch Bar for quick one-button access. Right-click on the icon that appears in the URL bar once the page has been loaded into Safari and add it to Favorites.
Then, these favorite websites will show up for quick and easy access right from the Touch Bar. Adjust the order of how they should appear from the Safari browser and they will appear in the same order on the Touch Bar.
2 Take A Screenshot

There always seem to be one time or another where taking a screenshot is necessary. And the Touch Bar can do that, too. Usually, with a MacBook laptop, this is accomplished by pressing Command + Shift + 3 at the same time on the physical keyboard.
With the Pro and Touch Bar, a screenshot isn’t just possible, it can also be even more precise. Hit Command + Shift + 4 to bring up the crosshairs in place of the cursor then use the Touch Bar menu to choose Selected Portion, Window, or Entire Screen. The Touch Bar also provides the option of where to save the screenshot. If Window is selected, the cursor will become a mini camera icon for honing in on the exact section. If Entire Screen, a screenshot will instantly be taken as usual.
1 Add The ESC Key
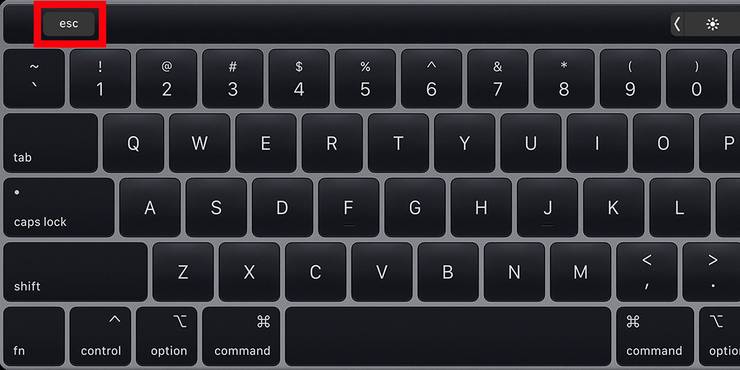
An escape key for quickly getting out of, well, anywhere, is definitely a handy tool. And it can be added to the Touch Bar on any MacBook Pro that is a 2018 model or later, which oddly don’t include the ESC key.
All that’s required is to reassign the Caps Lock key so that it functions as an Escape key. Go to Apple Menu then System Preferences, Keyboard, and Modifier Keys. On the drop-down next to Caps Lock, select Escape.
About The Author
Best Posts


Related Posts

What Makes Jurassic World’s Blue Different
Jurassic World's Blue has become the main dinosaur star of the franchise so here's what makes the velociraptor so different from the others.

15 Best Game Of Thrones Characters, Ranked
Game of Thrones was an extremely character-driven series, but who were the best characters in the entire show?

Bling Empire: Kim Lee Gets Upset if Kevin Doesn’t Text Back Quickly
Kevin Kreider and Kim Lee formed an unexpected bond on Bling Empire. Now fans are asking if they ever make their flirty relationship official.

Street Fighter Live-Action Fan Film Shows Violent Ken vs Balrog Battle
A vengeful Violent Ken faces off against Balrog and the forces of Shadaloo in a gritty Street Fighter fan film that places the two in a brutal fight.

How Thor ACTUALLY Killed Loki in Marvel’s Comics
Thor Odinson once had no choice to kill his trickster brother Loki and defied his father's sacred laws in order to make it happen.

Does Jungle Cruise Have An End-Credits Scene?
Jungle Cruise feels like it should have a post-credits scene – so do fans need to stick around to see a stinger that hints at a sequel?

5 Reasons Rudolph Is The Definitive Christmas Special (& 5 Why It’s Frosty The Snowman)
Rudolph and Frosty have been popular for decades, but which holiday favorite has the best television Christmas special?

Teenage Mutant Ninja Turtle Reboot Must Avoid Bay’s Big Shredder Mistake
The Teenage Mutant Ninja Turtle reboot needs to avoid making Michael Bay's mistake with Shredder. Can Seth Rogen's CG animated movie do him justice?