How To Record Audio On Laptop Or PC Using Windows 10 Voice Recorder
Windows 10 has a plethora of apps that can be used on a laptop or desktop and one of the most convenient and helpful is the Voice Recorder. This app allows the user to record audio for just about any reason, making it a great all-round option for those looking for a way to record themselves.
Voice Recorder is easy to use and comes with other features, such as trimming, sharing audio files, and organizing. If a laptop or PC is running Windows 10, then the user already has access to Voice Recorder as it comes pre-installed. While there are tons of audio recording apps out there, Windows 10’s Voice Recorder is likely to be enough for many users looking for a quick and easy recording solution.
One of the most notable factors about the Voice Recorder app is that it’s 100-percent user-friendly. A microphone is all that’s needed, and with almost all laptops and PCs now coming with a built-in microphone, this is not going to be an issue. Of course, there are also benefits to using an external microphone, including better quality audio recordings overall. Here’s how to find the Voice Recorder app in Windows 10, as well as brief explanation on how to make use of the main features.
How To Use The Voice Recorder App
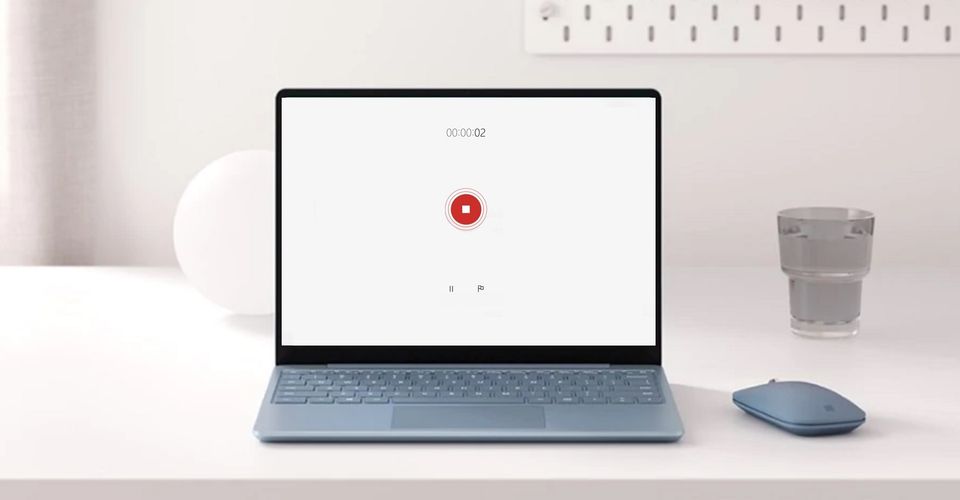
Before you begin recording, make sure that the microphone is working properly or if it’s an external microphone, that it’s connected. Open the app by pressing the Windows key and searching for “Voice Recorder.” Once open, click the record button (microphone icon) to begin recording. Users can also add a marker to any part of the recording by highlighting and clicking the flag icon. To pause a recording session without ending it, click the pause button, and once the recording is finished, click the stop button.
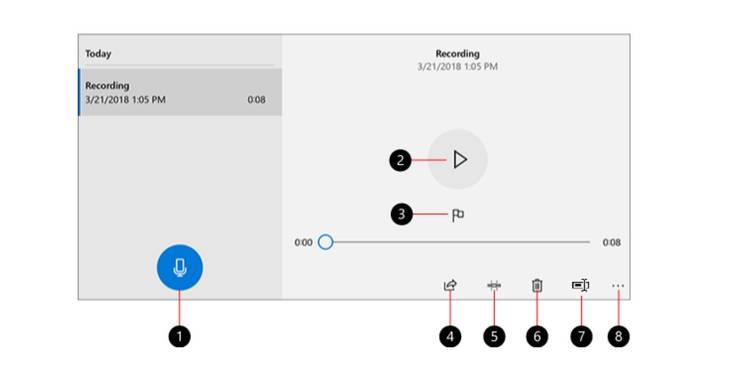
To listen to the recording afterwards, while the app is still open simply click the play button and start listening. Otherwise, open the app again and select the recording from the recordings list shown on the left-side of the app. To trim your recording, click the trim button (second icon from the left at the bottom), and drag the pins to mark the parts to be trimmed, then hit save. It’s also worth renaming individual recordings to make it easier to identify them at a later time. To rename one, open the recording and click on the rename button (last icon at the bottom) and a pop-up window will open allowing the user to change the name of the file.
In most cases, making recordings shouldn’t be an issue. However, the Voice Recorder might not work if the microphone settings are not configured correctly to allow access. If this happens, simply go to the app’s settings, find the “Allow access to the microphone on this device” option at the top and click the “Change” button to grant permission. Overall, Voice Recorder is an easy option for Windows 10 laptop and PC users to record audio.
Source: Microsoft
About The Author
Best Posts


Related Posts

Encanto: The Main Characters, Ranked By Bravery
Encanto was a Disney movie that had an entire family that mostly lived in fear, but that did not mean they were not brave, deep down inside.

American Beauty: Main Characters Ranked, According To Likability
American Beauty is known for its iconic scenes. The characters that drive them like Ricky Fitts show their likability in their actions.

Star Wars’ New Bounty Hunter May Be Better Than Boba Fett
Jabba the Hutt calls in Deva Lompop, one of the Star Wars galaxy's oldest bounty hunters, to clean up Boba Fett's mess in War of the Bounty Hunters.

GTA 5 Enhanced Is Really All About GTA Online
Grand Theft Auto 5's new expanded & enhanced edition sounds less like a next-gen upgrade and more like a new attempt to bring players to GTA Online.

Wisdom Of The Crowd Season 1 Episode 13 Finale Recap
CBS crime drama Wisdom Of The Crowd came to an end after just one season on the air but here’s what went down during its series finale.

Netflix’s Dracula Easter Egg Sets It In The Same Universe As Doctor Who
Both shows produced by Steven Moffat, Dracula has confirmed it exists in the same universe as Doctor Who through a reference made in its first episode.

One of Superman’s Oldest Powers is Also His STRANGEST
In 1958 Superman gained one of his weirdest superpowers fans could ever imagine: shooting a mini-Superman from his fingers. Yes, seriously.

Hamilton: What Happened To Hercules Mulligan After Act I Of The Musical
What happened to Hercules Mulligan after the events depicted in Hamilton on Disney+? Here's what you need to know about the tailor/spy's legacy.