How To Screenshot On iPhone SE 3: All The Tips You Need To Know

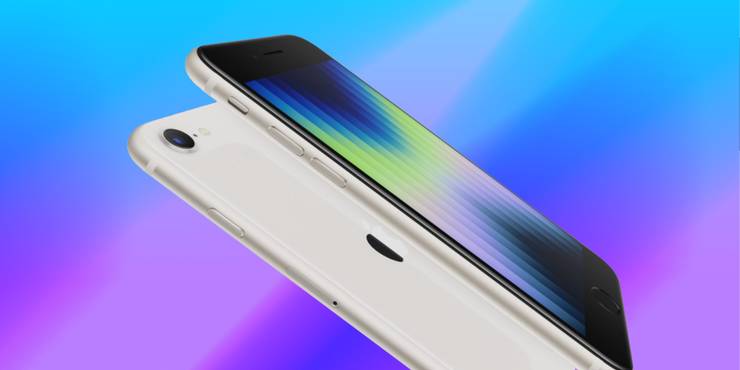
Taking screenshots is a useful feature for any smartphone, and on the iPhone SE 3 from Apple, doing so takes just a couple of seconds. It may not be the most exciting phone on the market, but the iPhone SE 3 is one of the best values. For $429, you get an iPhone with a familiar and comfortable design, 5G connectivity, some of the iPhone 13’s camera features, and the latest A15 Bionic processor. Add all of that together with years of guaranteed iOS updates, and the SE 3 may be one of the most practical budget phones of the year.
As with any modern smartphone, however, knowing how to do certain things isn’t immediately apparent. Blocking websites with the iPhone’s Safari browser is a perfect example. It’s a fantastic way to minimize distractions, but if you don’t know exactly where to look, you can miss the feature entirely. Other features like the iPhone’s Focus Status, Live Captions, and Private Browsing Mode are all important too. Once again, though, finding all of these specific features is easier said than done.
That brings us to screenshotting on the iPhone SE 3. Taking screenshots is something every phone is capable of, but depending on which phone you have, the steps can vary quite a bit. In the case of the iPhone SE 3, taking screenshots works as follows: At any time, press the iPhone SE 3’s power button and home buttons at the same time. Make sure to give them a quick press together and not hold them down for too long. If you do it right, the screen will quickly flash to indicate the screenshot’s been captured. And that’s it! You can take screenshots of virtually anything on the iPhone SE 3’s display — whether it’s a funny picture, an odd Tweet you found, or anything else. If there’s something on the screen that you want to save, take a screenshot and move on with your day.
How To Edit And Find Your iPhone Screenshots

Once you’re comfortable taking screenshots on the iPhone SE 3, there are a couple of other tips to remember. After taking a screenshot, Apple displays a small preview of it in the bottom left corner of the display. Tapping that preview allows you to edit the screenshot in a few different ways — including a crop function, drawing tools, and a virtual ruler. You can also tap the ‘+’ icon to add descriptions, text, shapes, and more to the screenshot. Tapping ‘Done’ in the top left corner saves the screenshot and your edits, the trashcan icon deletes the screenshot, and the share button (the one with a box and arrow) lets you quickly share it with another app.
Last but not least, it’s important to know where all of these screenshots are saved once you take them. To do this, open the Photos app, tap ‘Albums,’ scroll to the bottom of the page, and tap the ‘Screenshots’ button. This shows all screenshots taken with the iPhone SE 3, plus older screenshots saved to Apple Photos from an older iPhone. Keep these tips in mind, and you’ll be a screenshot pro on the SE 3 in no time at all!
Source: Apple
About The Author


